Christmas is a time for traditions, decorations, and—at least for some of us—quiet moments spent playing with ideas. In that spirit, this post is a small seasonal diversion: a recreational exploration of large factorial numbers, their historical computation, and an unusual way to see them. The inspiration comes from an old but delightful article by the great recreational mathematician Martin Gardner, titled “In which a computer prints out mammoth polygonal factorials” (Scientific American, August 1967), in which he discusses the astonishing growth of the function

and the surprising difficulty computers once faced when trying to compute it for even modest values of n.
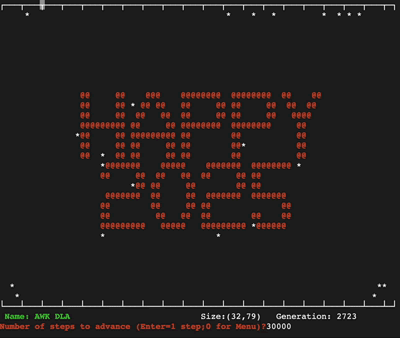
In this post, I will briefly describe the Smith bin algorithm for computing large factorials and present the result for the number 2025, arranged in a geometric form. After all, if numbers are going to grow explosively, why not let them grow into Christmas trees for 2025?
Continue reading